August 26, 2014
5 Easy DIY Ways to Give New Life to Old Flower Vases
There’s nothing like fresh flowers to add life to a room.
According to Florist Chronicles, a fresh bouquet of blooms can even positively affect feelings like compassion, kindness and enthusiasm. But before you order up that perfect punch of color for your living space, spruce up those dingy old vases you’ve been using year after year. A flower vase can be pretty as well as practical.
Give your old vases a facelift with these five DIY Flower Vase Ideas.
Fabric-wrapped Style
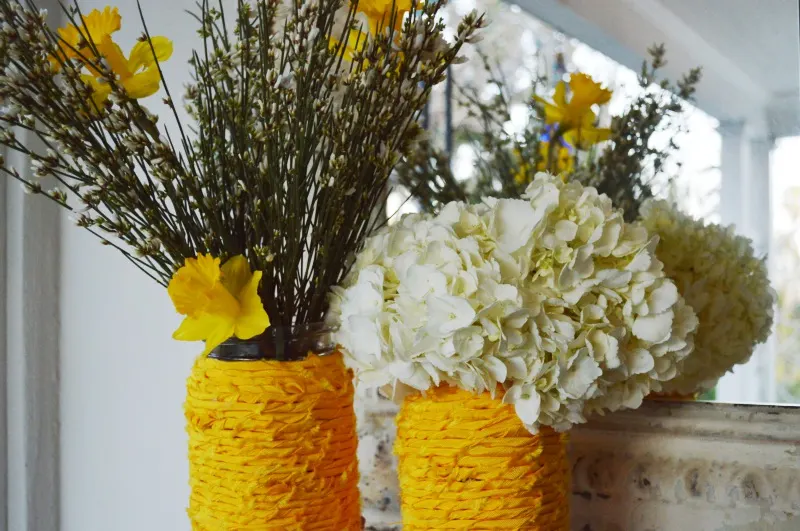
This inspired look came from the clever minds at Mr. Kate. Get creative with your fabric choice! For a bedside table, use that silky blouse you love but that no longer fits or if you’re throwing a baby shower bash, use soft pastel baby blankets from your local second-hand store.
What You Need:
Vase
Fabric
Scissors
Hot glue gun
Instructions:
1. Cut notches in fabric about 1 inch apart and rip the fabric at each notch to create a frayed edge.
2. Place a dot of hot glue on the neck of the vase.
3. Twist the vase clockwise and cover the dot of glue.
4. Continue twisting until you complete your first circle around the top of the vase. Only use a small section of glue at a time as it dries quickly.
5. Continue to twist the fabric and cover the vase but this time, without glue. If you twist tight enough, you won’t need glue for each circle.
6. Once you reach the end of a strip of fabric, glue the end down.
7. Glue the next strip of fabric as close to the end of the other strip to avoid gaps. As you twist the fabric, guide the fabric toward the top layers to prevent gaps.
8. Continue until you reach the bottom of the base of the jar.
Paint and Twine Design
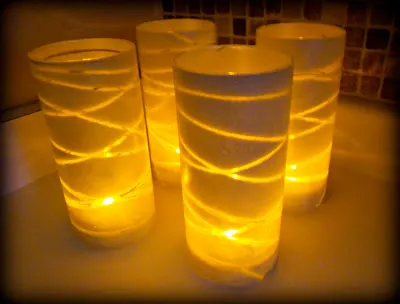
This tasteful look was created by Six Sisters’ Stuff. When you’re not using these decorative vases for flowers, you can also use them as luminaries as suggested by the sisters.
What You Need:
Glass vases of various sizes
Tape
Yarn
Satin-finish spray paint
Instructions:
1. Wrap the vases in yarn in criss-crossing patterns up and down the vase.
2. Tape the end of the yarn to the inside of the vase.
3. Spray paint the vases with three coats of paint and allow to dry thoroughly.
4. Remove yarn and tape.
Glitter-dipped Look
Perfect for the holiday season or to add flair to a party spread, these glittery creations were inspired by Dirty Laundry blog. You could follow her route of dipping just a portion of the vase or go a more elegant route and cover the entire vase with glitter.
What You Need:
Vase
Spray mount glue
Painter’s tape
Glitter (the chunky kind works best)
Instructions:
1. Mask off the vase with tape, leaving the area to be glittered exposed.
2. Spray glue onto exposed glass.
3. Sprinkle glitter to the entire exposed area.
4. Apply a second coat and allow to dry thoroughly.
5. Remove tape.
Rustic Sticks Design
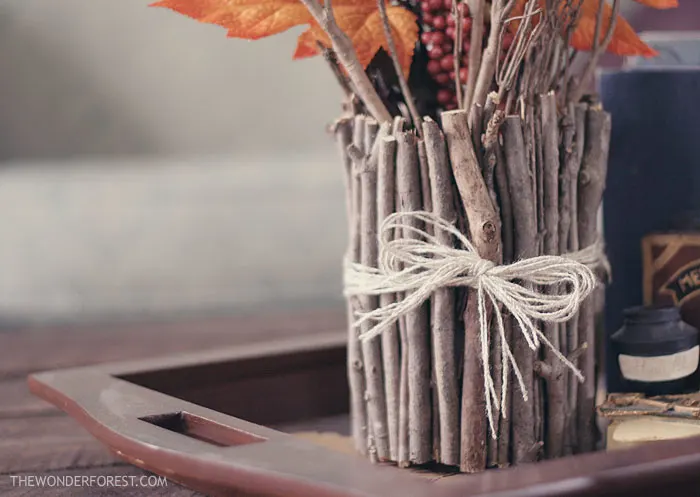
For a nature-inspired look, head out to the yard and pick up sticks. Inspired by the DIY designs of Wonder Forest, this look gives your bouquet a base of rustic chic.
What You Need:
Vase with a straight surface (as opposed to a curvy vase)
Handful of sticks
Branch trimmer
Hot glue gun
Ribbon or raffia
Instructions:
1. Trim sticks to vary, but similar, heights. Mix colors, textures and sizes for a more rustic look.
2. One at a time, apply hot glue to the back of each stick and apply to the vase.
3. Continue gluing sticks to vase until entire surface is covered.
4. Tie ribbon around the outside of the vase to complete your look.
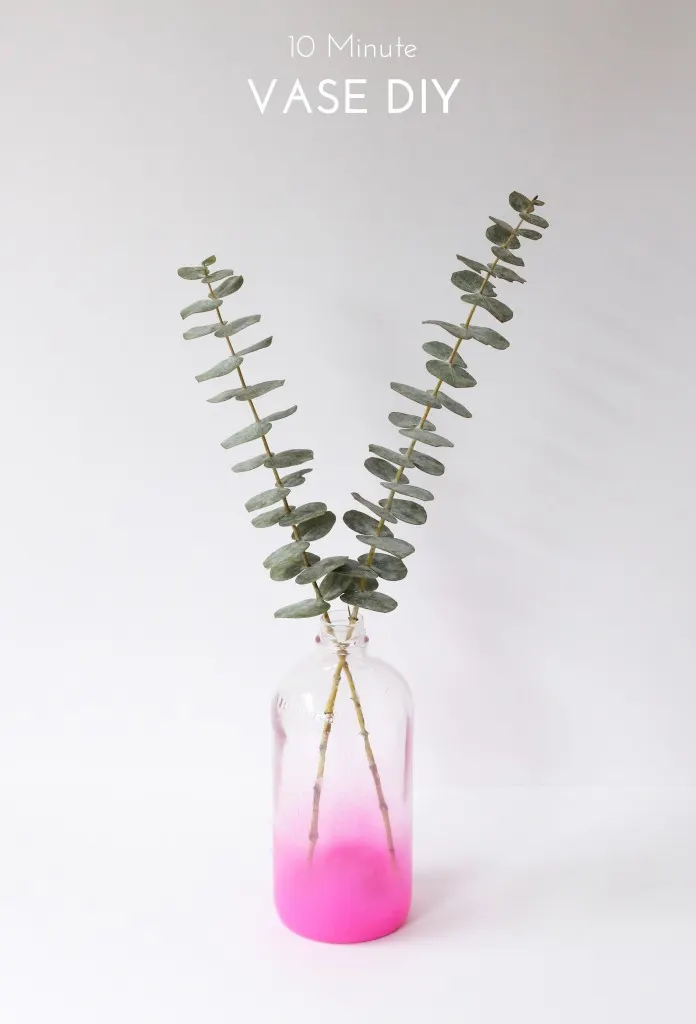
Ombre Flair
This incredibly simple and quick design was inspired by The Crafted Life. Pick a color (or two) that complements your decor.
What You Need:
Vase (preferably a tall clear vase)
Spray paint
Instructions:
Flip the vase upside down.
Spray paint the base and bottom, moving in a circular fashion. The paint will naturally speckle up the sides of your vase.
While still upside down, let the vase dry.
For more do-it-yourself ideas, follow our Put Your Old Vases to Use! Pinterest Board.

